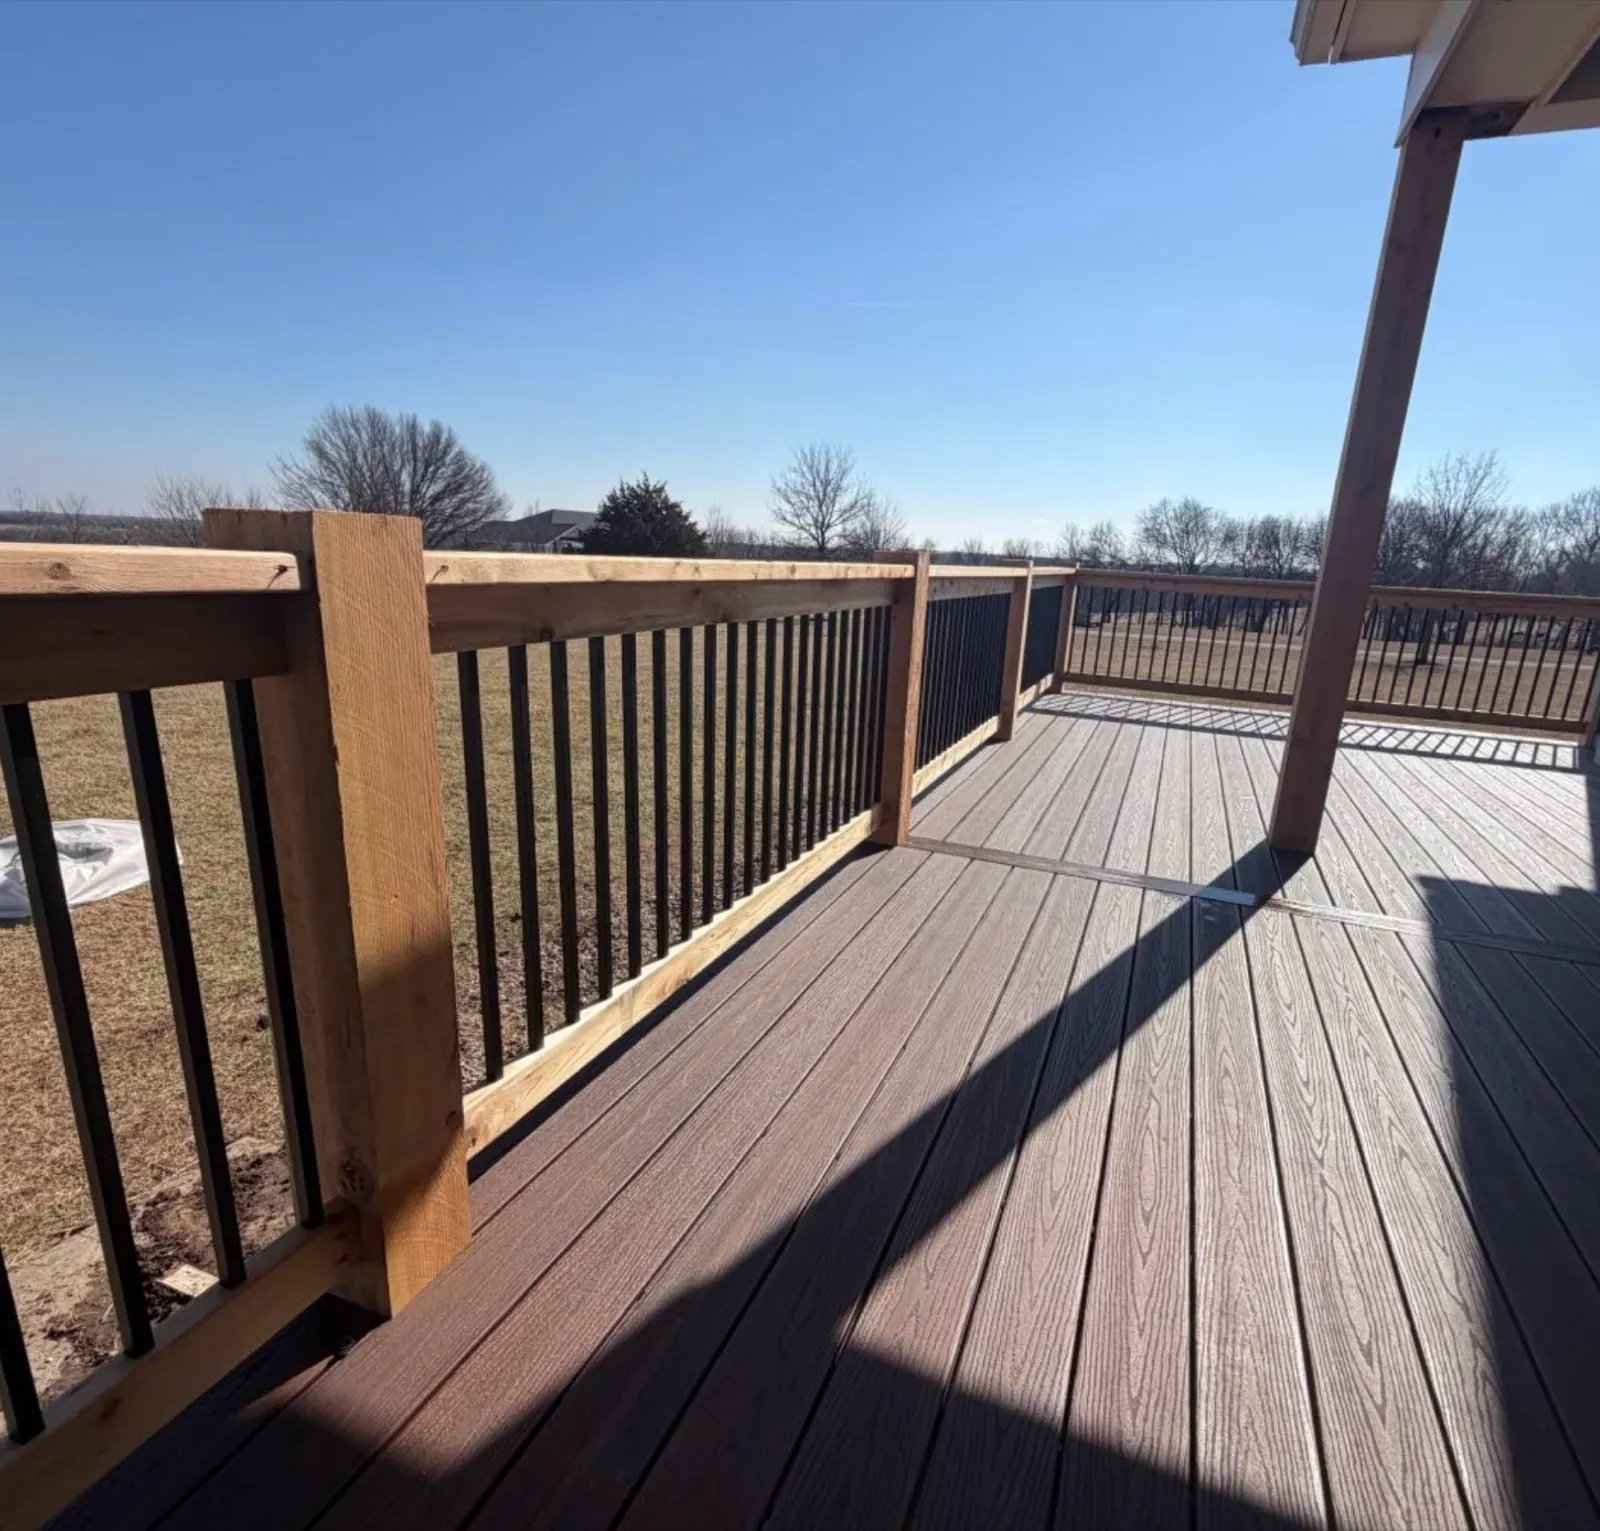
What resurfacing keeps—and what it replaces
Deck resurfacing, sometimes called reboarding, replaces the walking surface while retaining suitable supporting structure. It can also include fascia, stair treads, railing work, and specific framing corrections. Keeping the same footprint is a starting preference; it does not establish that every component underneath can stay.
TimberTech’s composite installation guide explicitly describes removing existing deck boards and installing new boards on a code-compliant substructure. It prohibits installing its composite boards over the old deck boards. That distinction matters when a proposal describes an overlay rather than removal and assessment.
Think of this as a scope question before a color decision. Ask which parts are proposed for reuse, which parts need further investigation, and which will be replaced. For available materials and complete installation planning, start with our Kansas City composite deck service.
Sources: TimberTech
Assess the entire frame before choosing boards
A useful assessment follows the structure from the ground to the surface: footings, posts, beams, joists, and their connections. At an attached deck, include the ledger and its connection to the house. Member sizes, spans, bearing, hardware, and the proposed loads belong in that review—not just the appearance of the lumber.
The American Wood Council’s DCA 6 illustrates why these parts work as a system. It is a reference for conventional wood-deck construction within defined limits, based on the 2015 IRC; it does not certify an existing deck or replace the requirements adopted by your local authority.
Ask what can actually be verified on the first visit. Footing dimensions, concealed house connections, and the tops of joists may need records or further exposure. A good planning conversation identifies those unknowns rather than treating a clean-looking underside as a complete structural answer.
Sources: American Wood Council
Plan a second review after the boards come off
Old surface boards can obscure the places you most want to inspect. NADRA’s consumer checklist highlights decay, damp areas, loose or corroded fasteners, flashing, stairs, and railings. It also makes clear that a homeowner checklist does not establish code compliance. Have concerns evaluated by a knowledgeable professional.
For the proposal, ask for a clear pause after removal: who reviews the exposed frame, how findings are documented, and how additional work is approved before it is covered again. Photos of the exposed conditions can make that conversation easier, especially when you cannot be home during the work.
Agree on the decision point in advance. A small, defined correction may fit the resurfacing plan; more extensive deterioration or unresolved support concerns may change it. If you need the broader decision framework, our repair-or-replace guide explains those paths. Here, the question is whether the retained base supports the proposed new surface.
Match joist spacing to the exact decking system
There is no single joist-spacing answer for every composite deck. Select the board line, profile, application, and board direction, then check the applicable manufacturer instructions. The TimberTech composite guide distinguishes straight and angled layouts and gives separate stair requirements. A spacing used for the old wood boards is not automatic approval for the new product.
Ask the contractor to show the relevant instructions alongside the proposed layout. Are the boards running perpendicular to the joists, diagonally, or around a border? Where do board ends land? Does the plan call for added support? Those questions should be answered before the material order is finalized.
For example, a homeowner may want diagonal boards after seeing a finished deck photo. The useful comparison is the complete scope for a straight layout versus the desired diagonal layout, including any required framing changes. Comparing only the price of the boards misses the installation question.
Sources: TimberTech
Resolve uneven framing, borders, and seams
A sound frame still needs preparation for the finish you expect. TimberTech explains that uneven joist tops can show through as a wavy surface. Its framing guidance also ties blocking needs to the chosen decking, fasteners, railing, and board pattern. Ask for a plan for the whole surface, including the edges.
Picture framing is the border that runs around the field boards. TimberTech’s picture-frame guidance shows additional support beneath that border and the adjoining infill boards. It is a framing detail as well as an appearance choice.
Before approving the layout, ask to see where seams and borders will fall relative to the doorway, stairs, and main view from the yard. A simple drawing can settle preferences early. Request separate descriptions of necessary corrections and optional finish details so you can make informed choices without losing track of the base scope.
Sources: TimberTech · TimberTech
Include fasteners, drainage, and access below
The installation plan should name compatible fasteners and address board gaps, airflow, and water movement. TimberTech’s composite guide provides fastening, gapping, and ventilation directions. These are product-specific details; a clip or screw used on another deck is not enough evidence that it fits this one.
At the house, ask how existing flashing and water damage will be evaluated. At the outside edge, ask how fascia and any skirting will be handled. TimberTech’s framing guidance discusses flashing and joist tape as water-management measures. Tape is a protective detail for suitable framing, not a repair for decayed wood.
Tell the contractor how you use the space below the deck. Do you need access to a hose bib, equipment, storage, or a drainage system? Put those needs on the scope before choosing the visible finish. Ask what access will remain for future maintenance and what cleaning instructions you should keep after the project is complete.
Sources: TimberTech · TimberTech
Check stairs and railing compatibility separately
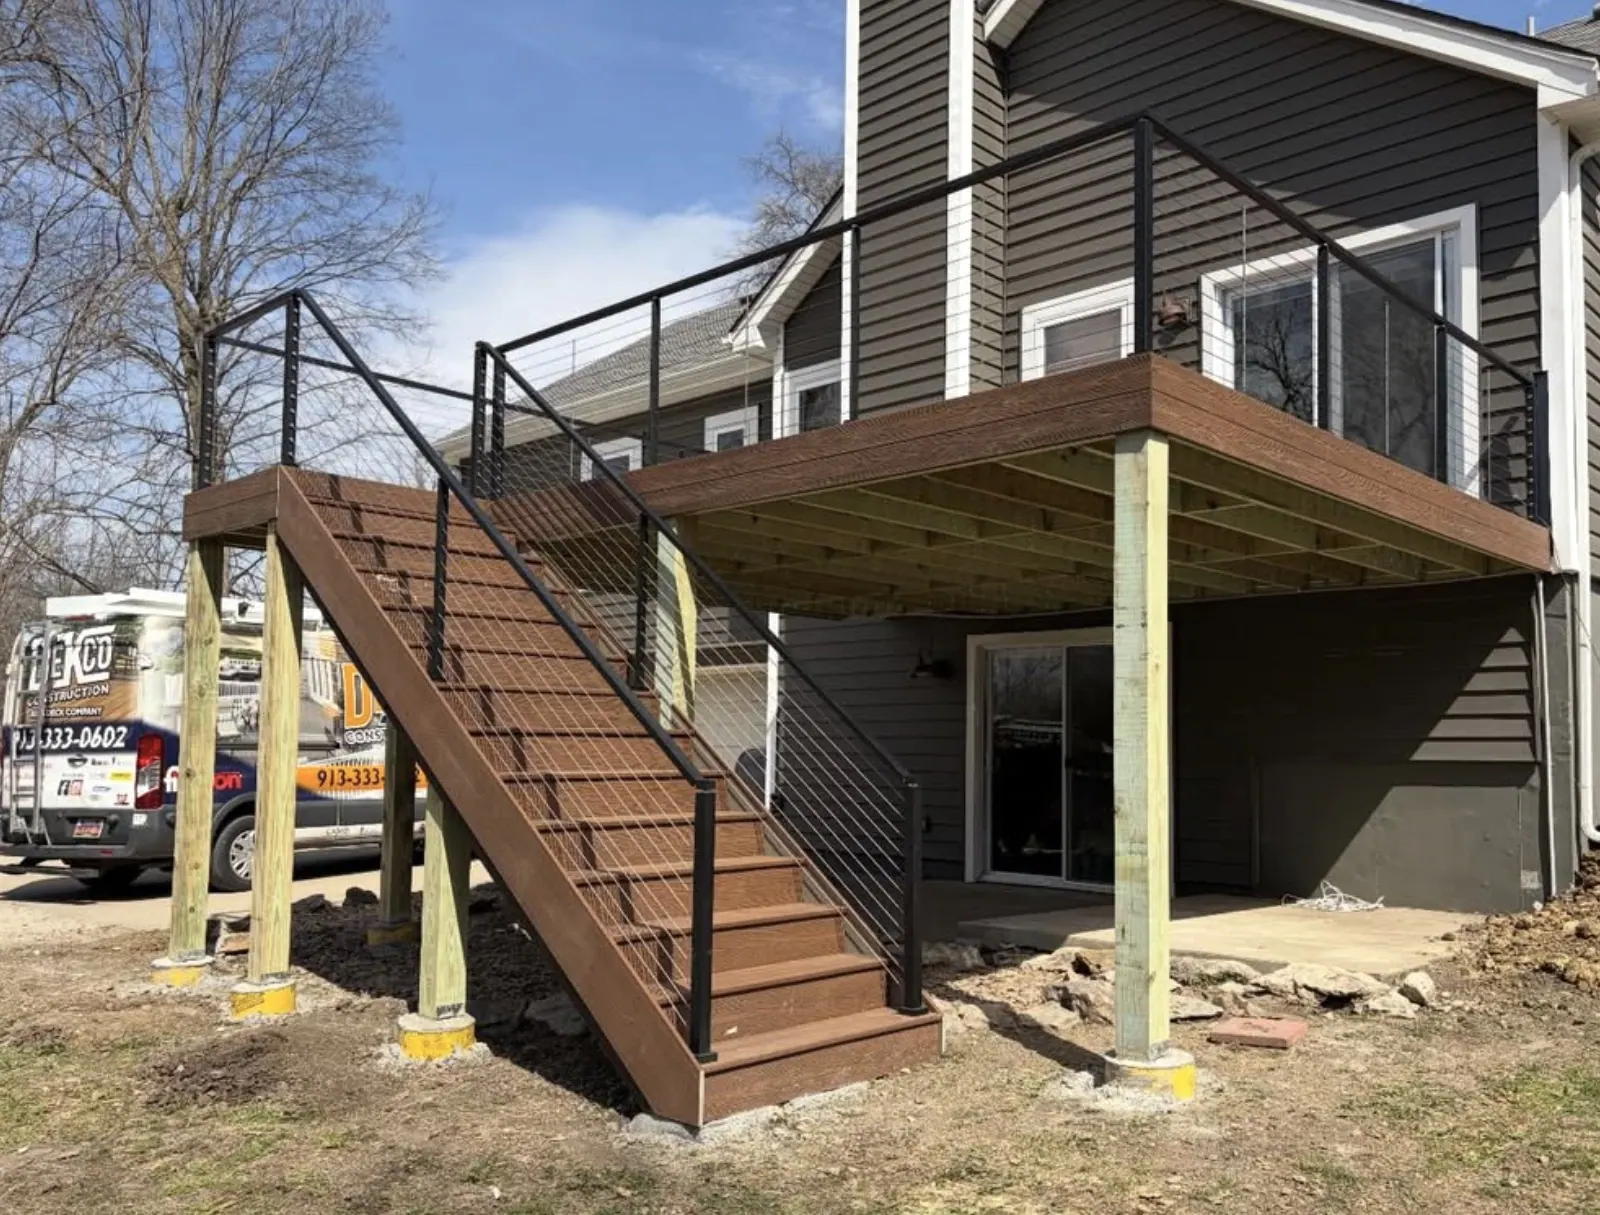
Keeping the deck frame does not automatically mean keeping every stair and railing component. Include stringers, landings, handrails, guards, and post attachments in the assessment. The proposed stair surface needs its own product-specific support and fastening review. Ask how the finished board thickness affects the stair and doorway transitions.
If the plan keeps existing railing, ask whether it can be removed and reinstalled where necessary, how the attachments will be assessed, and what repairs or replacement are included. If you want a new railing system, select it early enough for its attachment and blocking requirements to be considered with the frame.
Our stairs and railings service covers those coordinated upgrades. For a visual discussion, see the elevated composite deck and stairs project. It illustrates a finished surface, stair, and railing combination; it should not be read as evidence that your existing structure has the same conditions.
Sources: American Wood Council · North American Deck and Railing Association
Compare complete resurfacing proposals
A useful resurfacing quote explains the retained structure and the new work together. Ask for the exact board line, surface layout, fastening approach, demolition, disposal, framing preparation, stairs, railings, fascia, and cleanup. Separate known work from allowances or exclusions tied to concealed conditions.
Rather than assuming that reusing a frame guarantees a particular saving, compare the assessed scope. One proposal may include stair and railing changes while another includes only the deck surface. Our composite deck cost guide explains the wider cost drivers. If the assessment changes the project substantially, discuss the deck replacement scope before proceeding.
For your Kansas City metro address, establish who confirms local permit and inspection requirements and whether plans or further structural review are needed. Do not assume a surface replacement is exempt. Also request the actual product warranty documents and the contractor’s written workmanship terms; ask how reused components are addressed. Keep those responsibilities explicit in the proposal.
- What has been inspected, and what remains concealed?
- Which framing changes are included for the selected board layout?
- What happens if removal reveals additional damage?
- Who confirms local requirements and coordinates any required inspections?
- Which components and responsibilities are covered by each written warranty?
Prepare for an on-site resurfacing assessment
Bring the deck’s approximate age, available plans or permit records, repair history, and your goals for the finished space. Explain whether the footprint and stairs work for you, what you hope to maintain, and whether a future roof or enclosure is part of the plan. Those future changes deserve their own assessment.
Photos can help start the conversation: include the full deck, stairs, railing, house connection, and accessible underside. Take them from a safe location without removing structural parts. If an area feels unstable or shows a concerning defect, avoid using it and arrange an evaluation rather than testing it yourself.
For DecksRXKC homeowners across the metro, including Overland Park, the practical next step is a site-specific scope. Request a composite resurfacing assessment and describe what you want to change. Start with what can reasonably be retained, then choose the boards and details that fit the confirmed plan.